
A lot of bloggers made it, show it, wear it, and even sell it. There are million ways to assemble flowers and any other components into a headpiece.
In this post, I'm going to show you how I make my simple version of flower crown/headpiece.

 |
| Thin-stemmed flowers |
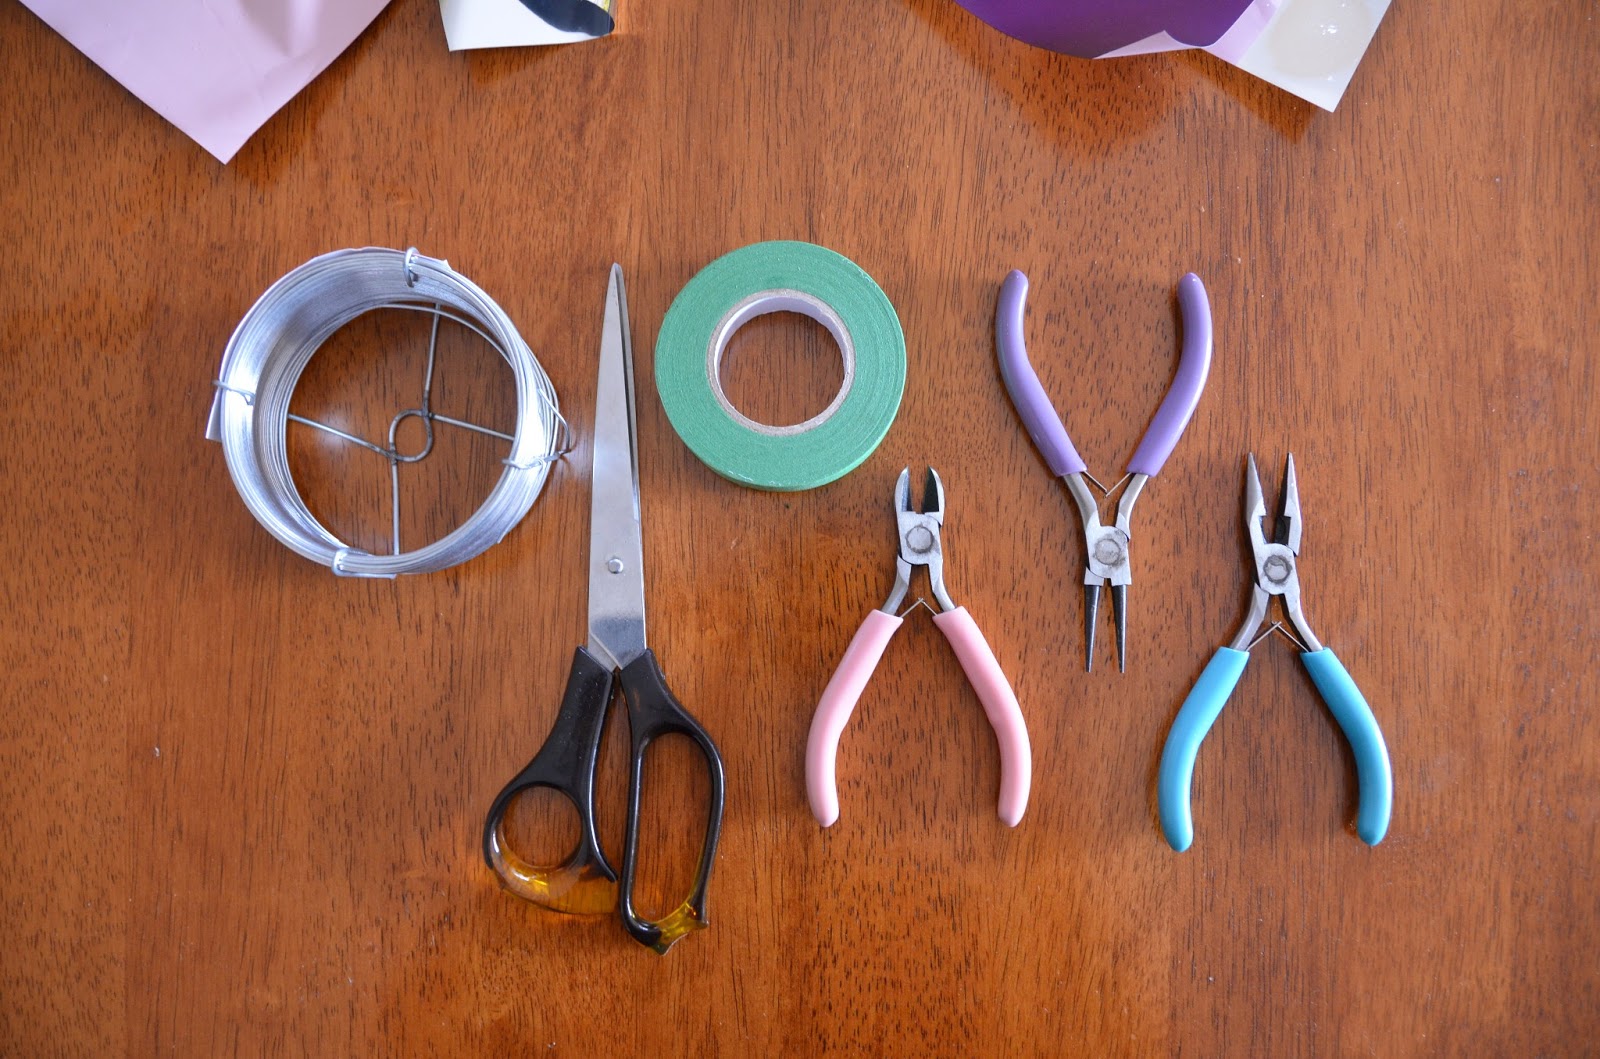 |
| What you need |
- Wire - 1.25mm x approx 35-40cm (Bunnings)
- Green Cloth Tape (Bunnings)
- Scissors
- Pliers
- Fresh Flowers
- Brown rope (not shown)
Tips:
- When it comes to picking your flowers, you can choose any colour and size. Preferably not too big depending you the size and shape of your head. But, of course, you can go the other way.
- Medium flat-faced flower will works better when it comes to placing it on your head in certain arranged set below. (probably not going to work with lilies or big peonies).
- If you don't have wire and cloth tape, you can buy the ready-wrapped and cut wire from Riot Art & Craft for AUD$2.99 (20 pieces of 18inch wire)
- You can get rope from craft store, not to thick, and don't pick bright coloured rope (unless you want it to shine)
Step 1:
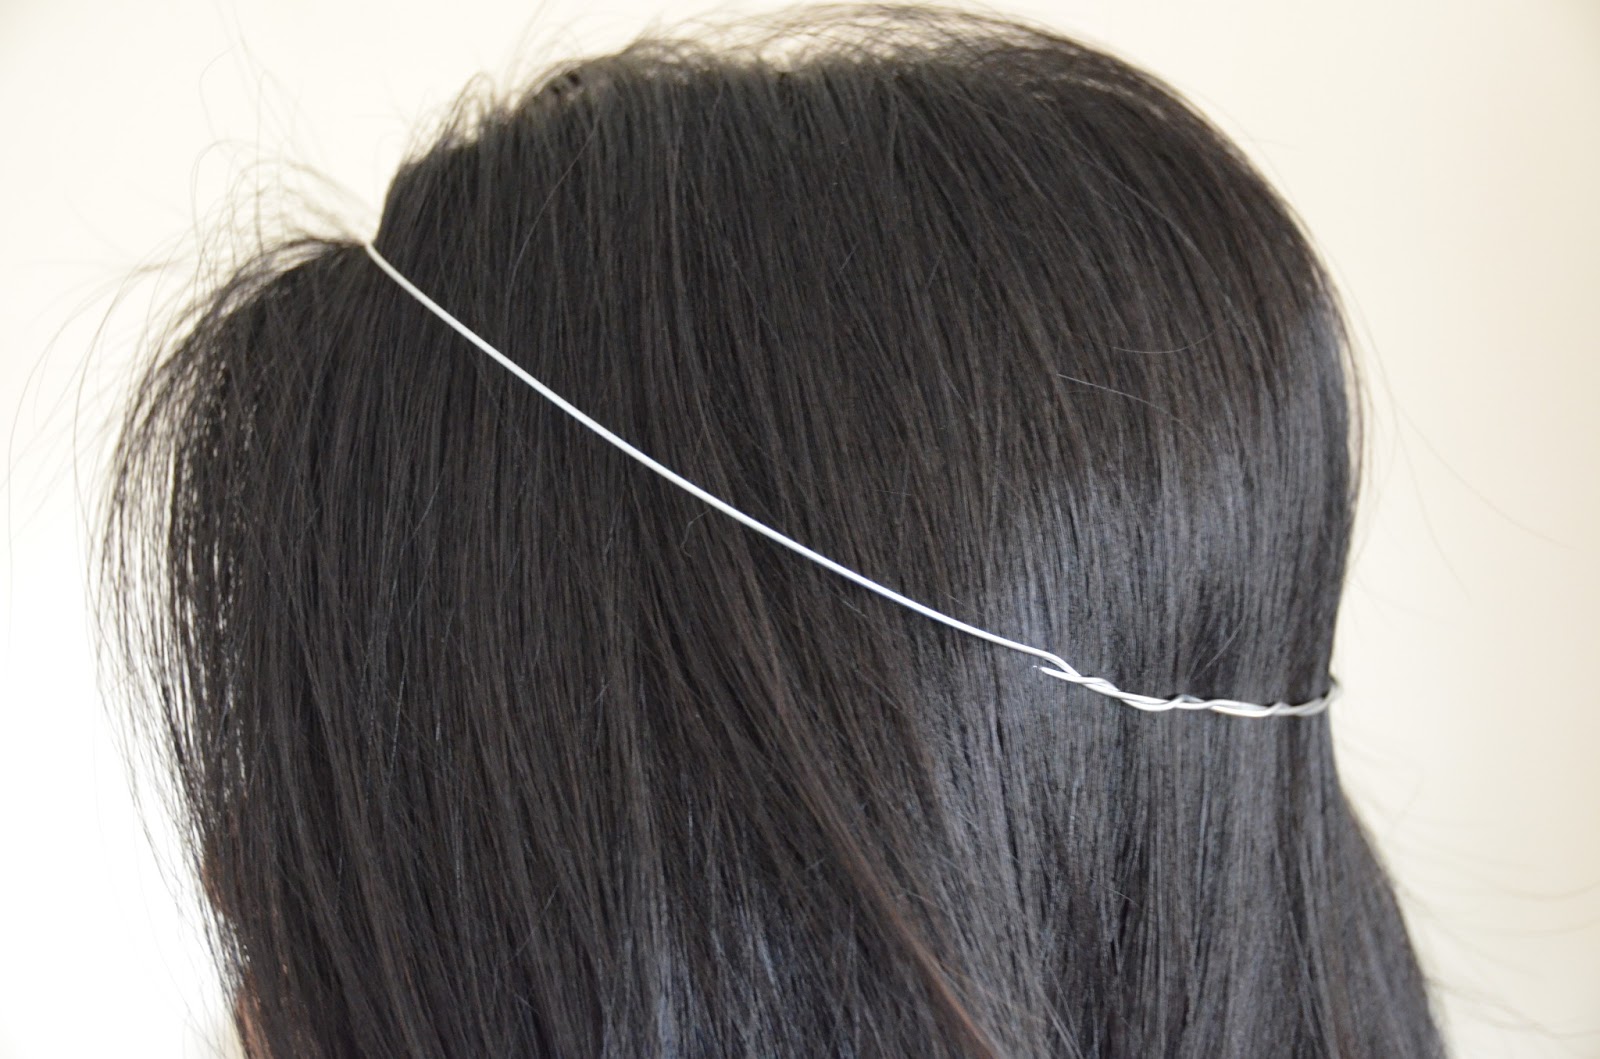 |
| Measure it! |
Measure the wire on your head, the way you want it to sit.
Twist the rest of the wire around at the back, and make sure nothing is pointing out (Hazard alert).
 |
| Wrapped wire |
Wrap the wire with the green cloth tape.
Tip: Start from the back of the wire all the way around back.
Step 3:
 |
| CHOP CHOP |
Get rid of the leaves and cut the excess stem, it is easier to work with shorter stem.
Step 4:
 |
| Stick them together |
Hold each flower stem 90 degrees against the wire, and cross tape them.
Next stem, don't forget to give space between its petals, you don't want to squish them together. Yet, you don't want to give too much space. As long as the petals touches each other slightly, you good to go.
Every 3 or 4 stems, add the smaller flower here and there.
Step 5:


Tie the rope from one end, work your way around through the stems to the other end. Just to make sure they won't get loose.
 |
| DONE! |
 |
| Model: Encrusted Gems |
So, that's it folks!
Until next time,
Tania xx


